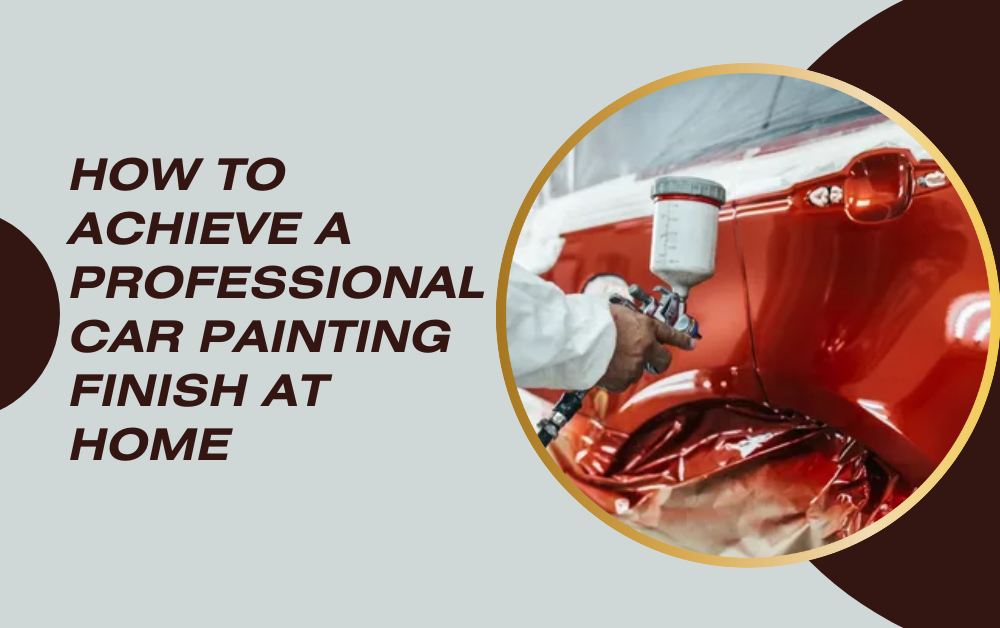
Painting your car at home can seem like a daunting task, but with the right guidance, it’s entirely possible to achieve a professional-looking finish. Whether you’re looking to refresh your vehicle’s appearance or repair damage, this guide will walk you through the essential steps to paint your car at home successfully. We’ll cover everything from preparation to the final polish, ensuring you have all the information you need to get a flawless finish.
Understanding the Basics of Car Painting
What You Need to Know Before Starting
Before diving into the process of painting your car, it’s crucial to understand the basics. Car painting isn’t just about applying a new color; it involves careful preparation, the right tools, and proper technique. Here’s a quick rundown of what to expect:
- Preparation: The most time-consuming part of the process. Proper prep work ensures a smooth and long-lasting finish.
- Tools and Materials: Investing in good quality tools and materials will make the job easier and yield better results.
- Techniques: Knowing how to apply paint evenly and effectively is key to achieving a professional finish.
Note:- Ready to give your car a stunning new look? If you’re in Dubai and need professional car painting services, look no further. Contact us today to get the best car painting Dubai has to offer. Transform your vehicle with a flawless finish that will turn heads. Get started now and drive with confidence!
Gathering the Necessary Tools and Materials
To paint your car at home, you’ll need several tools and materials. Here’s a list of essential items:
- Safety Gear: Gloves, goggles, and a respirator mask.
- Sanding Tools: Sandpaper of various grits, sanding block, or an electric sander.
- Cleaning Supplies: Wax and grease remover, tack cloth.
- Masking Materials: Painter’s tape and plastic sheeting.
- Primers and Paints: Automotive primer, base coat, and clear coat.
- Spray Gun or Paint Sprayer: High-quality spray gun for an even application.
- Buffers and Polishers: To achieve a smooth and shiny finish.
Preparing Your Car for Painting
Cleaning and Sanding the Surface
Preparation is critical to achieving a professional finish. Start by thoroughly washing your car to remove any dirt, grease, and wax. Use a wax and grease remover to ensure the surface is clean. Once the car is clean, you’ll need to sand the entire surface to remove the old paint and create a smooth base for the new paint.
- Sanding Process: Use a coarse grit sandpaper (around 320 grit) to remove the old paint. Follow up with a finer grit (600 grit) to smooth out the surface. Ensure you sand evenly to avoid any rough spots.
Masking and Taping
After sanding, clean the surface again to remove any dust. Next, mask off areas that you don’t want to paint, such as windows, trim, and lights. Use painter’s tape and plastic sheeting to cover these parts thoroughly. Proper masking is essential to prevent overspray and ensure clean lines.
- Tip: Take your time with masking. Ensure all edges are sealed tightly to avoid paint seeping under the tape.
Applying the Primer
Choosing the Right Primer
Priming your car is an essential step that helps the paint adhere better and last longer. Choose a high-quality automotive primer suitable for your car’s material (metal, plastic, etc.).
- Types of Primers: There are several types of primers, such as epoxy, urethane, and self-etching primers. Each has its benefits, so choose one based on your needs and the material of your car.
Applying the Primer
Using your spray gun, apply the primer in even coats. Hold the spray gun about 6-8 inches from the surface and use a sweeping motion to avoid buildup. Apply multiple thin coats rather than one thick coat to ensure even coverage and prevent runs.
- Drying Time: Allow each coat of primer to dry completely before applying the next. This usually takes around 20-30 minutes, but follow the manufacturer’s instructions for best results.
Painting the Base Coat
Mixing and Preparing the Paint
Once the primer is dry and sanded smooth, it’s time to apply the base coat. Mix the paint according to the manufacturer’s instructions. Proper mixing is crucial to achieve the right color and consistency.
- Paint Types: Automotive paints come in various types, such as acrylic, urethane, and enamel. Choose one that suits your needs and matches your desired finish.
Applying the Base Coat
Using your spray gun, apply the base coat in thin, even layers. Start from the top of the car and work your way down. This helps prevent drips and ensures even coverage.

- Technique: Hold the spray gun 6-8 inches from the surface and use a steady, sweeping motion. Overlap each pass slightly to ensure even coverage. Apply 2-3 coats, allowing each coat to dry for about 20 minutes.
Applying the Clear Coat
Importance of the Clear Coat
The clear coat is what gives your car its glossy finish and protects the paint from damage. Applying a clear coat is a crucial step to achieving a professional look.
Applying the Clear Coat
Similar to the base coat, apply the clear coat in thin, even layers using your spray gun. Hold the spray gun the same distance from the surface and use a steady, sweeping motion.
- Coats: Apply 2-3 coats of clear coat, allowing each to dry thoroughly before applying the next. This usually takes about 20-30 minutes per coat.
Polishing and Finishing Touches
Sanding and Polishing
Once the clear coat is fully dry, it’s time to polish the surface to achieve a smooth, glossy finish. Start by wet sanding the surface with fine-grit sandpaper (around 1500-2000 grit). This removes any imperfections and creates a smooth base for polishing.
- Polishing: Use a high-quality automotive polish and a buffer to bring out the shine. Apply the polish in small sections, using a circular motion. Buff the surface until it reaches the desired level of gloss.
Final Inspection and Touch-Ups
After polishing, inspect the surface for any missed spots or imperfections. Touch up any areas as needed to ensure a flawless finish.
- Detailing: Clean off any remaining dust or polish residue. Remove the masking tape and plastic sheeting, and give your car a final wipe down to remove any fingerprints or smudges.
Tips for a Professional Finish
Working in a Clean Environment
One of the most important factors in achieving a professional finish is working in a clean environment. Dust, dirt, and debris can ruin your paint job, so make sure your workspace is clean and free from contaminants.
- Tip: Wet the floor of your workspace before painting to help settle any dust.
Taking Your Time
Rushing through the process can lead to mistakes and a subpar finish. Take your time with each step, especially during the preparation and painting stages. Patience is key to achieving a professional-looking paint job.
Practice Makes Perfect
If you’re new to car painting, consider practicing on a spare panel or a small area of your car before tackling the entire vehicle. This will help you get a feel for the spray gun and the painting process, leading to better results.
Conclusion
Painting your car at home can be a rewarding and cost-effective way to give your vehicle a fresh, new look. By following these steps and taking your time, you can achieve a professional car painting finish right in your own garage. Remember, preparation and patience are key to success. With the right tools, materials, and techniques, you’ll be able to transform your car and enjoy the satisfaction of a job well done.
Read more informative blog at guestpostinc.